Employee Management
Adding, editing, and deactivating employees in Z8
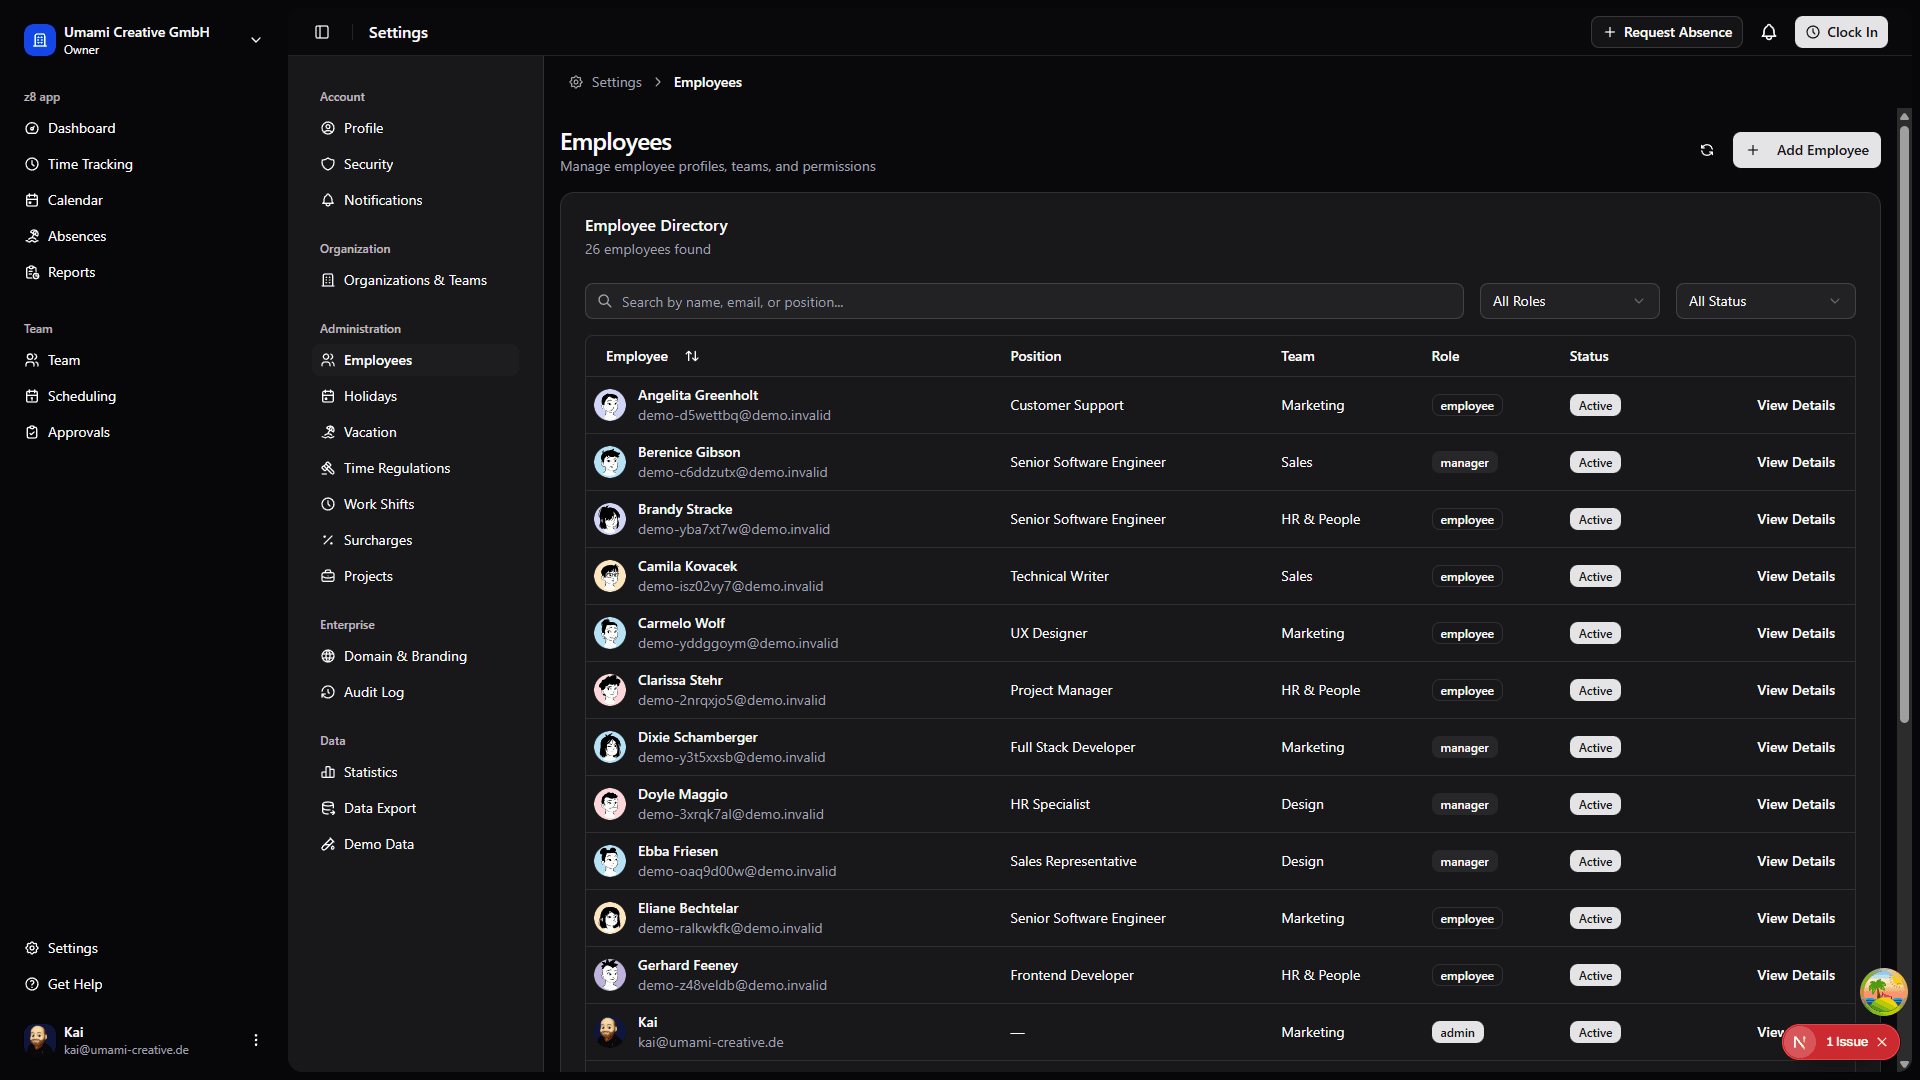
Adding a New Employee
Go to Settings → Employees
Click "Add Employee" button
Fill in the employee information:
- User Account: Select existing user or invite new user
- First Name: Employee's given name
- Last Name: Employee's family name
- Gender: Optional (Male, Female, Other)
- Birthday: Optional, for birthday tracking
- Position: Job title or role
- Team: Assign to a team (optional)
- Role: System role (Admin, Manager, Employee)
- Start Date: Employment start date
Click "Create Employee"
Important Notes
- User accounts are separate from employee profiles
- Membership is managed per organization, so review the active organization's member record and invitation status when connecting a user to an employee profile
- Initial manager assignment can be done after creation
- New employees are active by default
Editing Employee Information
Go to Settings → Employees
Find the employee (use search if needed)
Click on their name or "View Details"
Edit the information:
- Personal information (name, gender, birthday)
- Job information (position, team, role)
- Status (active/inactive)
Click "Save Changes"
Members And Invitations
Organization membership is managed from Settings -> Organization. Use that area when you need to invite someone before their employee profile exists or when you need to manage pending invitations.
Admins and owners can:
- Send invitations to new members by email
- Cancel pending invitations
- Review current members for the active organization
- Adjust organization-level access before or after creating the employee record
Employee profiles and organization memberships are related, but they are not the same thing. Add or invite the person to the organization first when necessary, then create or connect the employee profile used for workforce records.
Organization scope
Invitation, membership, and app-access changes apply only to the active organization.
Work Model Context
Employee records often connect to contract and work model history. Use Work Models and Contracts when expected hours, contract type, or payroll-relevant work expectations change.
Deactivating Employees
When an employee leaves:
Navigate to the employee's profile
Change status to "Inactive"
Click "Save"
What happens when deactivated
- Employee loses system access
- Cannot submit new requests
- Historical data remains intact
- Can be reactivated later if needed
Best Practice: Keep employee records for at least one full year after departure for reporting and compliance purposes.
Contract Types & Hourly Rates
Contract Type Selection
When creating or editing an employee, specify their contract type:
Navigate to the employee's profile
Find the Contract section
Select contract type:
- Fixed Salary: Monthly or annual salary
- Hourly: Paid by the hour
Save changes
Hourly Rate Configuration
For hourly employees, configure their pay rate:
- In the employee profile, find Hourly Rate
- Enter the rate amount
- Select the currency
- Set the effective date
- Save changes
Hourly rates are used in payroll exports and cost calculations. Changes take effect from the specified effective date.
Rate History Tracking
The system maintains a complete history of rate changes:
- Effective dates: Each rate has a start date
- Previous rates: Automatically archived when new rate is set
- Reporting: Historical rates used for accurate payroll calculations
To view rate history:
- Go to employee profile
- Click "View Rate History"
- See all past rates with effective dates and who made the change
Rate Best Practices
- Set rates promptly - Affects payroll calculations immediately
- Use effective dates correctly - Rate changes apply from that date forward
- Document changes - Add notes when adjusting rates
- Review regularly - Ensure rates stay current with agreements